Wallbox EV charger
Wallbox EV charger - Why a good choice?
Wallbox is one of the biggest players in the EV Charger industry. the company was founded in 2015 from sunny Barcelona, with the aim of being the ultimate partner in EV charging solutions for both the consumer and business market. Therefore, the brand offers a wide range of products for both the consumer and the business market, catering to both customer groups.
The Wallbox company now has more than 1,000 employees across 117 different countries, with 20 offices worldwide.
- A charging solution for everyone
- myWallbox App
- Power boost option (measuring household energy consumption)
Popular Wallbox EV Charger models
At Wallbox Discounter, we sell several models of Wallbox in our range. Wallbox EV Chargers sometimes look similar from the outside, but they certainly differ in their features and options. Below will be an individual analysis for each model.
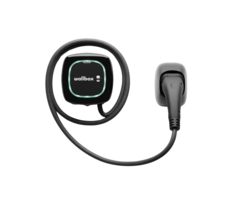
Wallbox Pulsar Plus
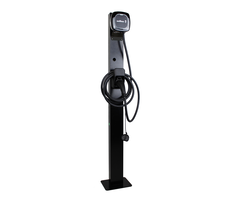
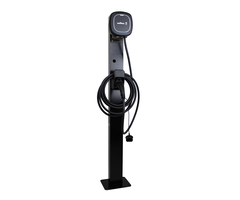
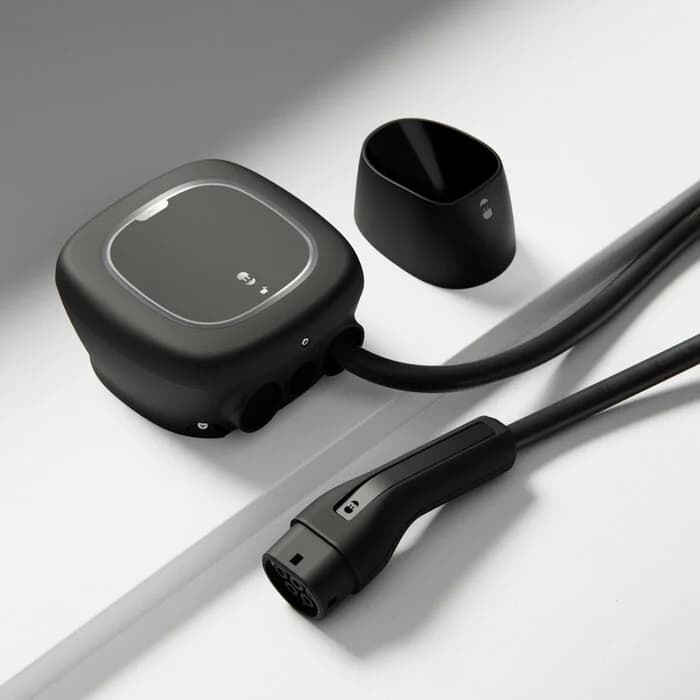
The Wallbox Pulsar Plus is the best-selling EV Charger of the Wallbox brand. In our view, this is due to the wallbox's sleek and compact design, combined with all the included features, such as the myWallbox app. The Pulsar Plus is available in 11 and 22 kW and can be used for both 1 phase and 3 phase. Furthermore, it comes with a fixed charging cable, which is 5 or 7 metres long. All Pulsar Plus models are available in black and white.
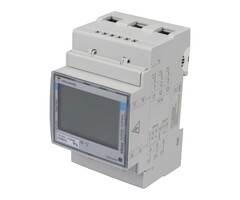
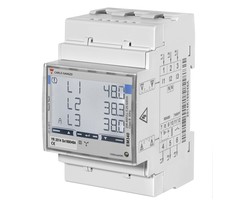
The Pulsar Plus is attractive for both the private and business market. It is even possible to install a MID meter, to automate business settlement. It also features OCPP 1.6J and the EV Charger is SIM-free. So you can choose which back office you want to use. Dynamic Load Balancing and connection to solar panels is optional. For this, the Wallbox Power boost must be purchased.
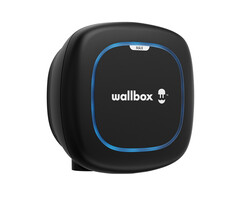
Wallbox Pulsar Max
The Wallbox Pulsar Max is a new model from Wallbox. It has been improved in several ways compared to the Wallbox Pulsar Plus. Like the Pulsar Plus, the Pulsar Max again has the option of integrating Power Boost and a MID meter. This enables Dynamic Load Balancing, a connection to solar panels and business settlement. All necessary information and statuses can be easily viewed in the myWallbox app. Furthermore, the Pulsar Max has a better and more robust design than the Plus, as the degree of protection here is better. Namely, it is IP55. Furthermore, this wallbox is available with a length charging cable of 5 or 7 metres.
Wallbox Pulsar Pro
The Wallbox Pulsar Pro is seen as the successor to the successful Pulsar Plus. From the outside, they look very similar , but the Pulsar Pro has a few extra features, such as the possibility of using a charging card and the MyWallbox Business Licence. This licence gives you access to a portal, where you can remotely control, monitor and read the Pulsar Pro. It allows you to control your charging speed, manage your EV Chargers or users and make your Wallbox EV Charger public, so you can create your own revenue model. people can then use your EV Charger with a charging card, for which you can set a tariff. With the Pulsar Pro, additional features such as dynamic load balancing and connection to solar panels are also optional.
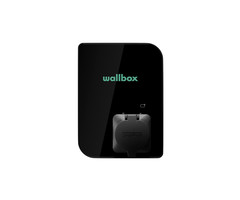
Wallbox Copper SB
The Wallbox Copper SB is a newer model and also has a different design to all the other Wallbox EV Chargers in our range. Whereas the Pulsar models all have a fixed charging cable, the Copper SB does not. The Copper SB has a socket with lock function. It is therefore possible to fix a charging cable in this Wallbox EV Charger, but it is not included. Also with the Copper SB, additional functions such as dynamic load balancing, external MID meter and connection to solar panels are optional. This via the Power boost and the external MID meter.
Furthermore, this Wallbox EV Charger has OCPP 1.6. and can be activated via your mobile phone, tablet or RFID card. It is also possible to activate this Wallbox EV Charger via a charge card.
Installation of a Wallbox EV charger
To give the best possible picture of the installation of a Wallbox EV Charger, below we cover the installation of the most well-known Wallbox, namely the Wallbox Pulsar Plus installation. According to the Wallbox manual, the installation of the Wallbox consists of 6 steps. This EV Charger features the following contents, for which you will need the following tools:


Drilling holes in the wall
First, place the drilling template on the wall. Mark the three fixing points.
Then drill the holes at the marked spots and insert the anchor screws into the fixing holes.
Lower connection and rear connection
After completing the previous step, you can attach the charging post to the wall. Do this and then insert the screws and protective caps. Next, make a cut on the rubber grommet to insert the power cable through it.
For the rear connection, you can cut the thin plastic area on the back of the charging post. Then insert the ring. Again, make a cut on the grommet and insert the power cable through it. Next, attach the EV Charger to the wall by inserting the protective caps and screws.
Connecting the cables
Connecting the cabling is different for each connection. An illustration below shows the instructions for each connection:

Closing the charger
Once all cabling is connected, the charger can be closed. To do this, place the current communicator in the correct setting. Then attach the open end of the communication cable to the connector. Then close the device by clamping the cover. Then tighten the safety screw.
Installing the connector holder
Place the holder on the wall and mark the fixing points. Then drill holes at the marked spots and then insert the anchoring screws into the fixing holes. Next, attach the charging post to the wall and secure it securely. To do this, tighten the screws securely.
Registering the charger
Finally, the charger needs to be registered. To do this, first download the Wallbox app and register yourself. Also keep the serial number of your wallbox handy. Then add your Wallbox charger in the app by entering the requested data. Then follow the steps in the app and check for updates. If there are, the installation is complete. The Wallbox Pulsar Plus is ready for use.
Frequently asked questions
What does it take to install a Wallbox EV Charger?
According to the manual, the installation of a Wallbox EV Charger consists of six different phases, namely:
Drilling holes
Lower connection and rear connection
Connecting cabling
Connecting charger
Installing plug holder
Registering charger
What are the installation costs for a Wallbox EV Charger?
The installation costs of a Wallbox EV Charger strongly depend on your own situation. Any additional digging, adjustments to your fuse box and the location of the installation all affect the total installation costs. Total costs are estimated between €399 and €799.
What are the dimensions of the Wallbox SB Copper?
The dimensions of the Wallbox SB Copper are: 260 x 192 x 113 mm. The EV Charger also weighs only 2 KG.
Why you should buy a Wallbox EV charger?
At Wallbox Discounter we offer EV Chargers of the highest quality, supported by the best service. With these core values, we fit well with the Wallbox brand. With A-quality EV Chargers for both consumers and business customers, a EV Charger from Ratio is definitely a good choice.


